How Do You Use a Laser Cutter? A Comprehensive Guide
Using a laser cutter is an excellent way to create precise cuts and engravings on various materials, from wood to metal. Whether you’re a hobbyist or a professional, mastering this tool can open up endless possibilities for your projects. In this guide, we’ll walk you through the steps of how do you use a laser cutter effectively, ensuring safety and optimal results every time.
1. Understanding Your Laser Cutter
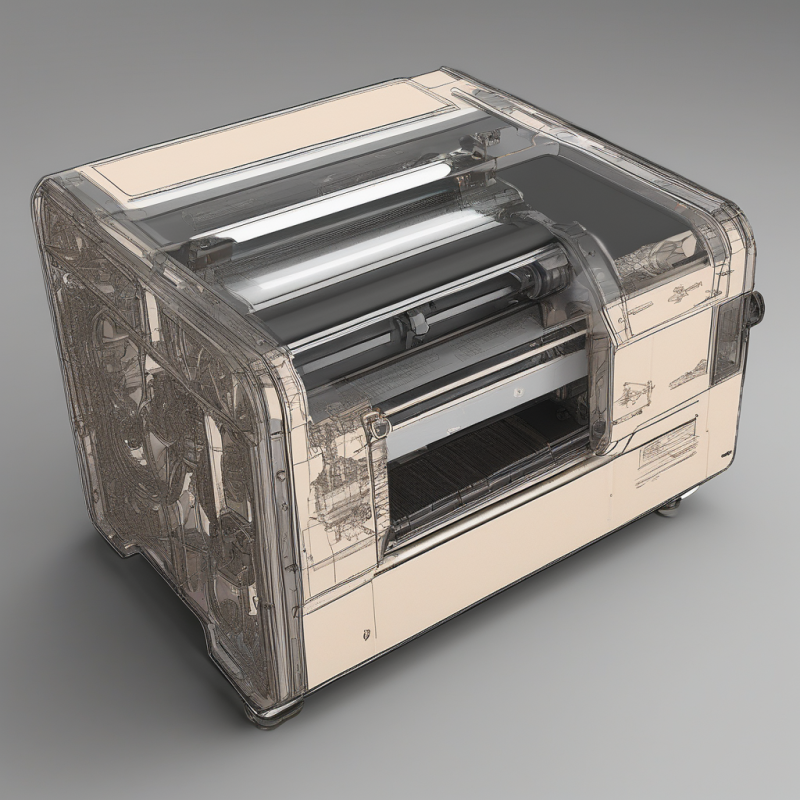
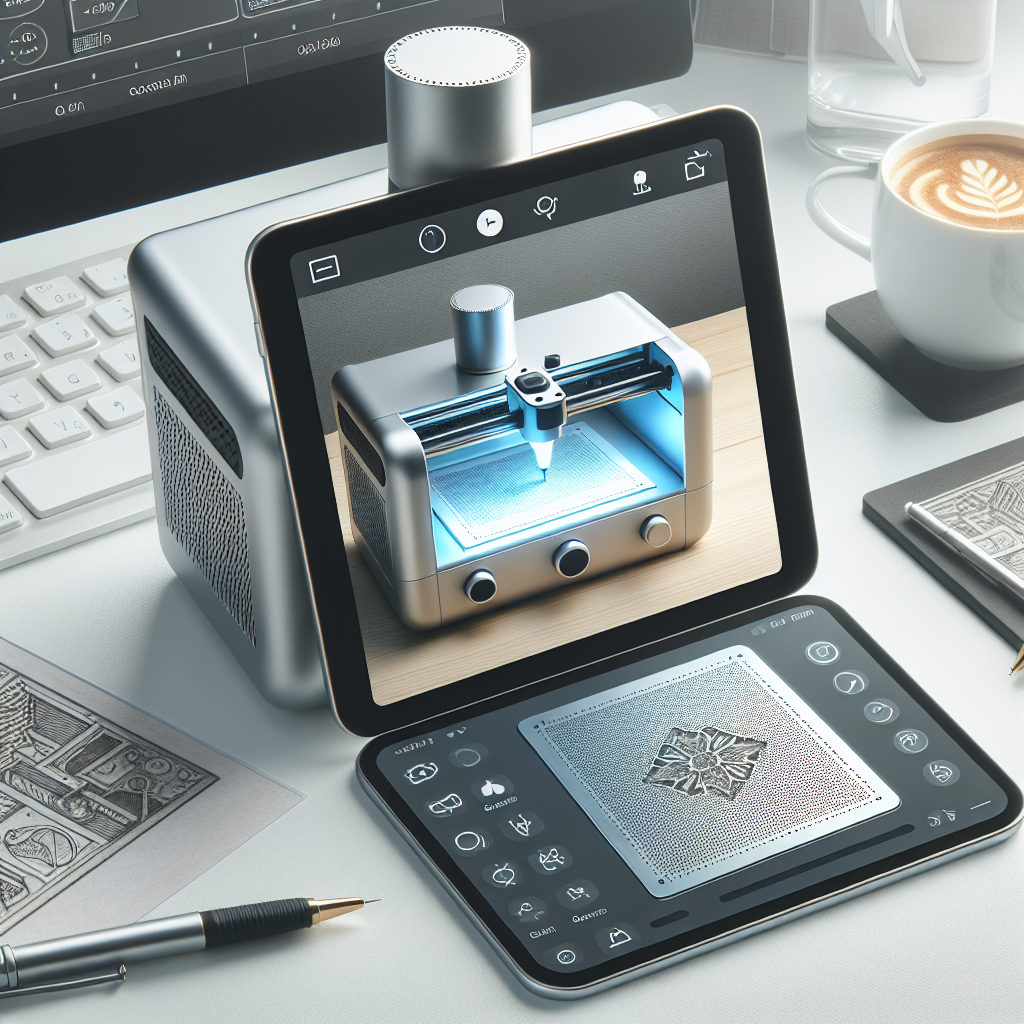
Before diving into using your laser cutter, it’s essential to understand its components and features. A typical laser cutter consists of a laser source, a bed for material placement, software for design, and safety equipment. The how do you use a laser cutter machine you’re working with may vary slightly depending on the model, but the basic principles remain the same.
Key components to familiarize yourself with include:
- The laser head: This emits the beam that cuts or engraves your material.
- The bed: Where you place your material for cutting or engraving.
- The software interface: Used to design and control the laser cutter’s operations.
- The safety features: Such as emergency stop buttons and safety shields.
Q: What materials can I use with my laser cutter?
The answer depends on your machine’s specifications. Most laser cutters work well with wood, acrylic, leather, plastic, and some metals. Always check the manufacturer’s guidelines for compatible materials.
2. Safety Precautions
Safety should always come first when working with a laser cutter. The intense heat of the laser beam can cause burns or fires if not handled properly. Here are some essential safety tips:
- Wear protective gear: Use goggles to protect your eyes from the laser beam and gloves to prevent burns.
- Ensure proper ventilation: Laser cutting produces fumes, so work in a well-ventilated area or use exhaust systems.
- Keep flammable materials away: Avoid placing anything combustible near the machine.
- Follow manufacturer guidelines: Adhere to the safety instructions provided with your laser cutter to avoid accidents.
Q: Can I operate a laser cutter without protective eyewear?
No, it’s mandatory to wear goggles when operating a laser cutter. The laser beam is harmful to the eyes and can cause permanent damage if exposed directly.
3. Setting Up Your Laser Cutter
Before you start cutting or engraving, ensure your laser cutter is set up correctly. Follow these steps:
- Power on the machine: Turn on the laser cutter and wait for it to warm up.
- Adjust the bed height: Ensure the bed is level with the laser head for consistent cuts.
- Check software settings: Open the provided software and verify that the laser parameters (power, speed, etc.) match your material type.
Q: How long does it take for a laser cutter to warm up?
Typically, it takes about 10-30 minutes for the machine to reach optimal operating temperature. Refer to your user manual for specific details.
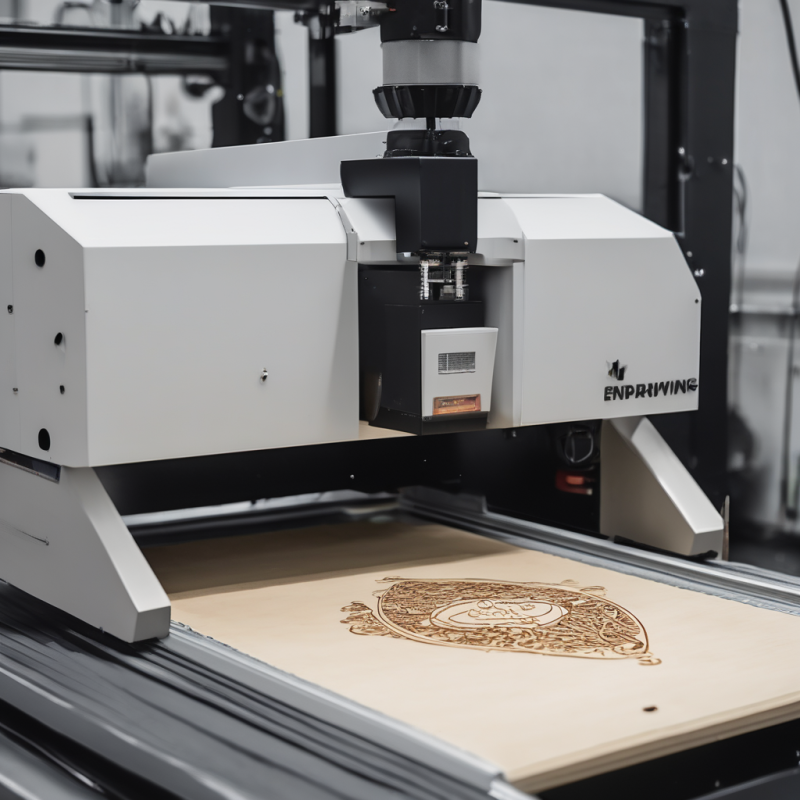
4. Loading Your Material
Loading material is a critical step in the laser cutting process. Proper placement ensures accurate cuts and prevents damage to your project or machine. Follow these tips:
- Choose the right material: Ensure the material is compatible with your laser cutter, as mentioned earlier.
- Secure the material: Use clamps or adhesive tape to hold the material in place on the bed.
- Align your design: Position the material so that the laser head can access the entire cutting area without obstruction.
Q: Can I cut multiple layers of material at once?
Yes, but only if the materials are compatible and stacked properly. Be cautious with heat buildup when cutting layered materials.
5. Designing Your Project
Your design plays a significant role in the success of your laser cutting project. Use vector graphics software to create or import your designs. Here’s how:
- Create or import your design: Use software like Adobe Illustrator, CorelDRAW, or specialized laser cutting software.
- Convert text to outlines: Text can cause issues during engraving; convert it to curves or outlines before sending the file to the laser cutter.
- Adjust settings: Fine-tune power levels, speed, and focus based on your material type and thickness.
Q: Can I use raster images for laser cutting?
Raster images are not ideal for cutting but can be used for engraving. For clean cuts, stick to vector graphics.
6. Running the Laser Cutter
Once your design is ready and your material is loaded, it’s time to run the laser cutter. Follow these steps:
- Send the file to the machine: Use the software interface to transfer the design to the laser cutter.
- Start the process: Press the start button and monitor the cutting or engraving process closely.
- Pause if necessary: If you notice any issues, such as misalignment or excessive heat, pause the machine immediately.
Q: How do I stop the laser cutter in an emergency?
Most machines have an emergency stop button. Press it immediately to halt the process and prevent damage or accidents.
7. Post-Processing Your Project
After the cutting or engraving is complete, there are a few steps you need to take:
- Turn off the machine: Allow it to cool down before handling any materials.
- Remove the material carefully: Use gloves to protect your hands from sharp edges or heat.
- Clean up: Brush away any residue and sand rough edges if needed.
Q: Do I need to clean the bed after each use?
Yes, cleaning the bed ensures accurate alignment for future projects. Use a soft cloth or compressed air to remove debris.
8. Maintenance and Upkeep
To keep your laser cutter in top condition, regular maintenance is essential:
- Clean the optics: Dust or debris on the lenses can reduce laser efficiency. Use a soft cloth and lens cleaner for this task.
- Check belts and pulleys: Ensure they are properly aligned and lubricated to prevent wear and tear.
- Calibrate the machine: Regular calibration ensures precise cuts and engravings over time.
Q: How often should I service my laser cutter?
This depends on usage, but it’s generally recommended to perform maintenance every few months or as specified in your user manual.
9. Troubleshooting Common Issues
Even with proper setup and precautions, issues may arise. Here’s how to address some common problems:
- Burnt edges: Reduce the power level or increase the speed of the laser head.
- Misaligned cuts: Re-calibrate the machine and ensure the bed is level.
- Slow processing: Check for software updates or optimize your design files.
Q: Why is my laser cutter producing inconsistent cuts?
Inconsistent cuts can result from uneven material thickness, improper focus settings, or a dirty lens. Adjust these factors and clean the optics as needed.
10. Expanding Your Skills
As you become more comfortable with your laser cutter, consider experimenting with new materials, techniques, and projects. Try engraving intricate designs, cutting complex shapes, or even working with multi-layered materials for added creativity.
Q: Can I create 3D objects with a laser cutter?
Yes! By layering materials and cutting each layer individually, you can assemble them to form 3D structures. This technique is often used in model making and prototyping.
Conclusion
Mastery of how do you use a laser cutter opens up a world of possibilities for crafting precise and intricate projects. With practice, patience, and a willingness to experiment, you can unlock your full creative potential with this powerful tool. Keep learning, stay curious, and enjoy the process!