Building Your Own DIY Laser Engraver Enclosure: A Step-by-Step Guide
If you’re into DIY projects or laser engraving, creating your own DIY laser engraver enclosure can be both fun and rewarding. But before diving in, have you ever wondered what exactly a laser engraver enclosure is? Or how to build one from scratch? This article will guide you through the process of designing, building, and maintaining a custom enclosure for your laser engraver. Whether you’re a hobbyist or a professional, this project is perfect for anyone looking to enhance their laser engraving setup.
What Is a DIY Laser Engraver Enclosure?
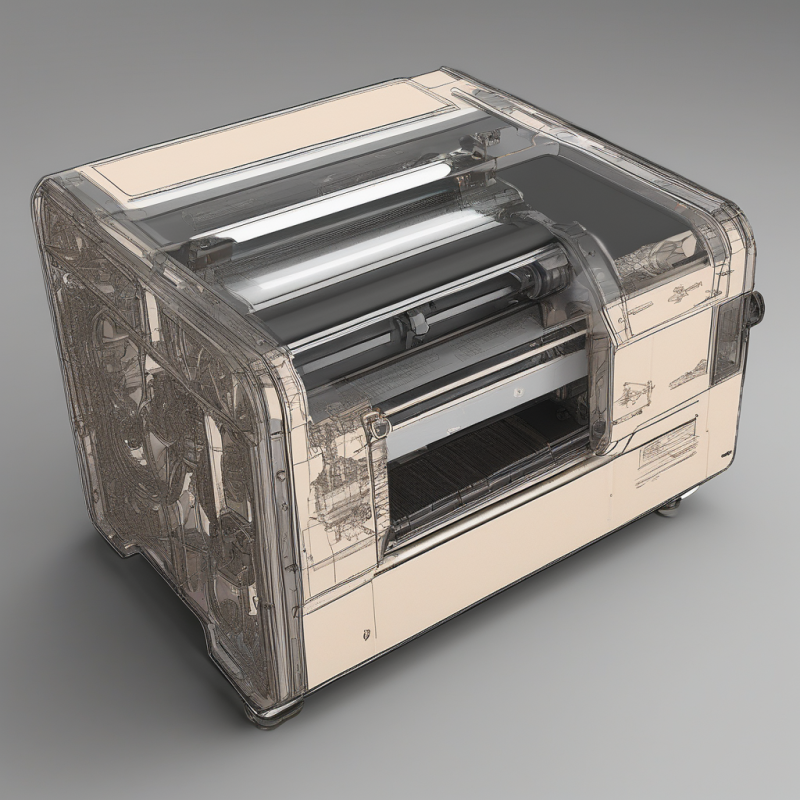
A DIY laser engraver enclosure is a protective structure built around your laser engraver machine to ensure safety and efficiency during operation. It provides a controlled environment for the laser, protecting both the machine and the user from potential hazards like dust, sparks, or harmful fumes. Additionally, an enclosure can help contain noise levels and improve the overall precision of your engravings by minimizing external disturbances.
Before you start building, it’s essential to understand the purpose of a laser engraver enclosure. Are you looking for a compact design or something more robust? Do you need additional features like ventilation or soundproofing? Answering these questions will help you create a tailored solution that meets your needs.
Why Build Your Own DIY Laser Engraver Enclosure?
Building your own enclosure offers several advantages:
- Customization: You can design the enclosure to fit your specific laser engraver model and workspace.
- Cost-Effective: Purchasing a pre-made enclosure can be expensive, especially for high-quality models. Building one yourself saves money while allowing you to use materials you already have on hand.
- Safety: A well-designed enclosure ensures that your laser engraving process is safe, reducing the risk of accidents or damage to your equipment.
Are you ready to take on this project? Let’s dive into the steps involved in creating your own DIY laser engraver enclosure.
Planning Your DIY Laser Engraver Enclosure
Before breaking out the tools, it’s crucial to plan your project carefully. Start by measuring your laser engraver to determine the size of the enclosure. You’ll need to ensure that there is enough space for all components while allowing room for proper ventilation and access.
Next, consider the materials you’ll use. Common choices include acrylic sheets, metal, or wood. Each material has its pros and cons:
- Acrylic Sheets: Lightweight and easy to cut, but may scratch over time.
- Metal: Durable and fire-resistant, but heavier and more challenging to work with.
- Wood: Aesthetically pleasing and affordable, but less effective for soundproofing.
Ask yourself: What are your priorities? If safety is your main concern, metal might be the best option. For a sleek appearance, acrylic sheets could be ideal.
Selecting the Right Materials
Once you’ve decided on the size and style of your enclosure, it’s time to gather materials. Here are some essential items you’ll need:
- Base Material: This forms the main structure of your enclosure. Acrylic sheets or wood are popular choices.
- Fasteners: Screws, bolts, or adhesive strips to secure the panels in place.
- Ventilation System: Fans or exhaust ports to remove fumes and keep the interior cool.
- Optional Add-Ons: Soundproofing insulation, LED lighting, or transparent panels for monitoring engraving progress.
Remember to choose materials that are compatible with your laser engraver’s specifications. For example, if your machine produces a lot of heat, ensure that your enclosure has adequate ventilation to prevent overheating.
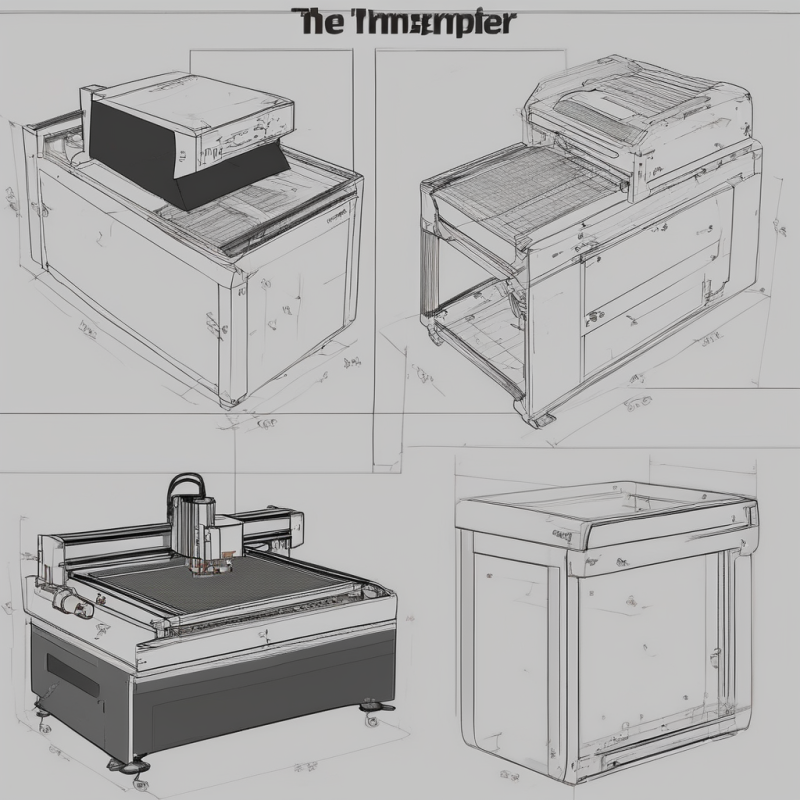
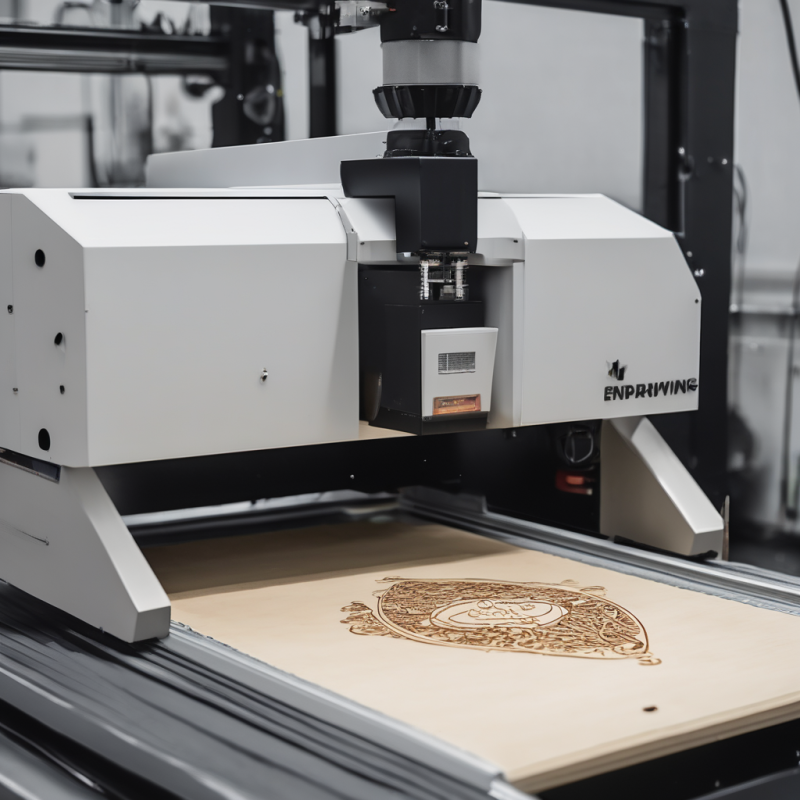
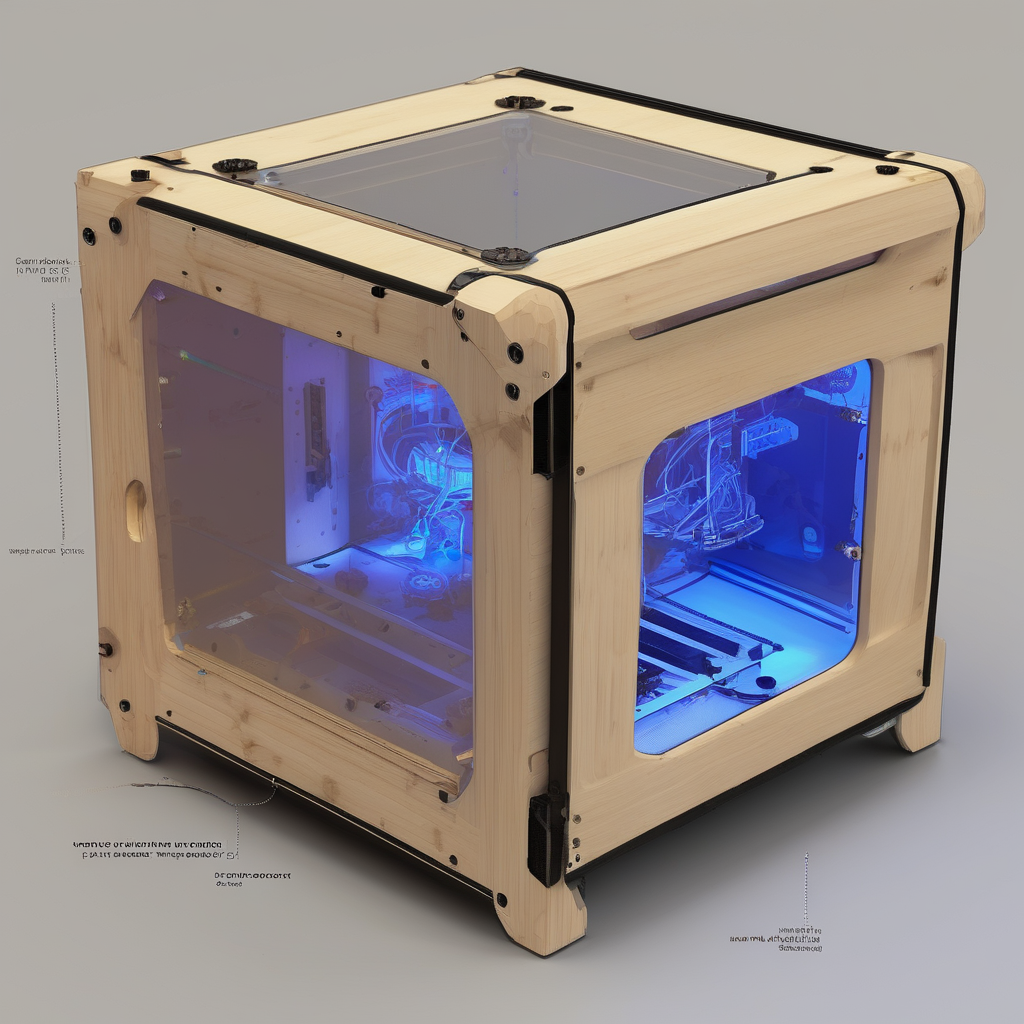
Building the Enclosure
Now comes the fun part: assembling your DIY laser engraver enclosure. Follow these steps for a smooth build:
- Cutting the Panels: Use a saw or CNC machine to cut the base material into the desired shape and size. Ensure all edges are smooth to avoid injuries.
- Assembling the Frame: Secure the panels together using screws, bolts, or adhesive strips. Double-check that the frame is square and stable before moving on.
- Installing Ventilation: Attach fans or exhaust ports to maintain airflow within the enclosure. If your laser engraver produces hazardous fumes, ensure proper ventilation is in place.
- Adding Optional Features: Install soundproofing insulation, lighting, or transparent panels as needed.
Don’t forget to test each component as you go. For example, check that the ventilation system functions correctly before fully enclosing the machine.
Ensuring Safety and Compliance
Safety should always be a top priority when working with laser engravers. Here are some tips to ensure your enclosure meets safety standards:
- Fire Resistance: Use materials that are fire-retardant or flame-resistant.
- Proper Ventilation: Ensure the enclosure has adequate airflow to prevent overheating and fume buildup.
- Emergency Access: Design the enclosure with easy access points in case of emergencies.
By following these guidelines, you can create a safe and efficient environment for your laser engraving projects.
Testing Your DIY Laser Engraver Enclosure
Once your enclosure is built, it’s time to test it out. Begin by running your laser engraver inside the new setup. Monitor performance closely to ensure everything functions as expected. Pay attention to:
- Noise Levels: Is the enclosure effectively reducing noise?
- Temperature Control: Does the ventilation system keep the interior cool?
- Fume Removal: Are hazardous fumes being properly exhausted?
If you encounter any issues, troubleshoot and make adjustments before proceeding with full-scale engraving.
Maintaining Your DIY Laser Engraver Enclosure
Like any equipment, your enclosure will require regular maintenance to stay in optimal condition. Here are some tips for keeping it running smoothly:
- Clean Regularly: Remove dust and debris from the interior and exterior of the enclosure.
- Inspect for Damage: Check for signs of wear or damage, especially around fasteners and joints.
- Replace Parts as Needed: If any components become worn out or malfunction, replace them promptly.
By taking good care of your enclosure, you can ensure it remains a reliable part of your laser engraving setup for years to come.
Comparing DIY vs. Pre-Made Enclosures
While building your own enclosure is a rewarding project, there are benefits to purchasing a pre-made one. For example, pre-made enclosures often come with additional features like built-in lighting or enhanced soundproofing. However, they can be more expensive and may not fit your specific needs as well as a custom-built option.
Ask yourself: What matters most—cost, customization, or convenience? Weigh these factors carefully before deciding whether to build or buy.
Frequently Asked Questions
Q: Can I use any material for my DIY laser engraver enclosure?
A: While you can use a variety of materials, it’s important to choose ones that are fire-resistant and durable enough for your needs.
Q: How long does it take to build a DIY laser engraver enclosure?
A: The time required depends on the complexity of the design and your experience level. Simple enclosures may take just a few hours, while more elaborate designs could take several days.
Q: Can I modify an existing enclosure instead of building one from scratch?
A: Absolutely! If you already have an enclosure but want to upgrade it, you can add features like better ventilation or soundproofing.
Conclusion
Building your own DIY laser engraver enclosure is a fantastic way to customize your workspace and enhance safety during engraving projects. By following the steps outlined in this guide, you can create a durable, efficient, and safe environment for your laser engraver. Whether you’re a seasoned professional or just starting out, taking the time to design and build the perfect enclosure will pay off in the long run. Happy crafting!