DIY Laser Engraver Enclosure: A Comprehensive Guide
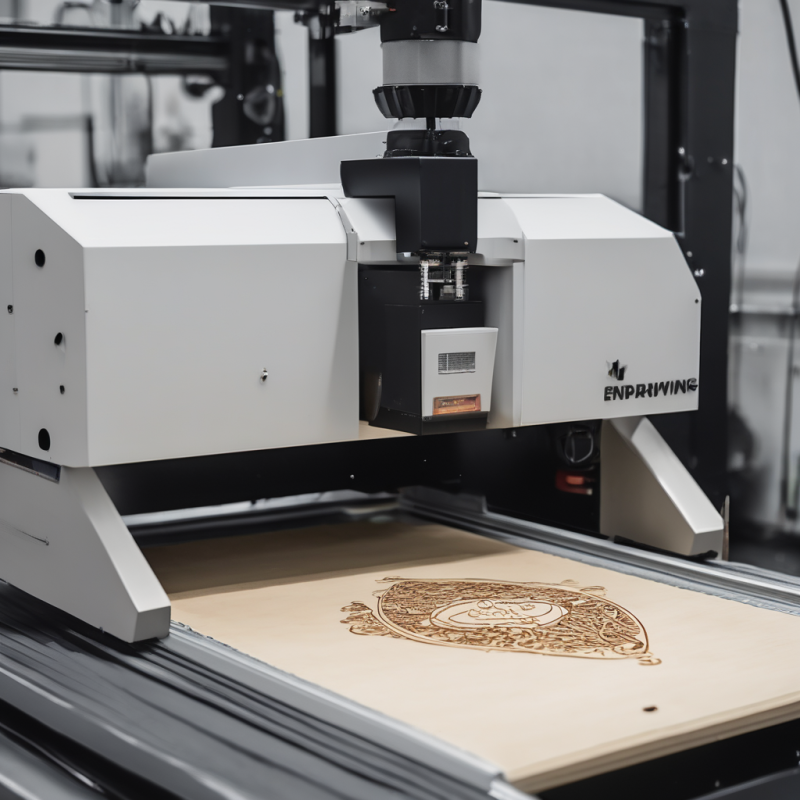
Are you ready to take your laser engraving projects to the next level? Building a DIY laser engraver enclosure can significantly enhance your workflow, improve safety, and ensure precision in your designs. Whether you’re working with wood, metal, or other materials, having a well-designed enclosure is essential for optimal performance. In this article, we’ll walk you through the process of creating your own diy laser engraver enclosure, covering everything from design considerations to assembly tips. Let’s dive in!
The Importance of a Laser Engraver Enclosure
Before we get into the nitty-gritty details, let’s discuss why a laser engraver enclosure is so important. Laser engraving involves high-powered beams that can be hazardous if not properly contained. An enclosure not only protects you from potential accidents but also helps maintain consistent airflow, reducing dust and fumes in your workspace. Additionally, it minimizes distractions by keeping the engraving process contained and visually isolated.
When selecting or designing an enclosure, consider factors like size, ventilation, and accessibility. The enclosure should be spacious enough to accommodate your laser engraver while allowing easy access for adjustments. Proper ventilation is crucial to prevent the buildup of harmful fumes, especially when working with materials like wood or plastic. Lastly, ensure that the design allows for smooth operation and easy cleaning.
Choosing the Right Materials for Your Enclosure
Selecting the right materials is a critical step in building your DIY laser engraver enclosure. The enclosure must be durable enough to withstand heat and abrasion while providing adequate protection. Here are some popular materials to consider:
- Metal sheets: Offer excellent durability and heat resistance, making them ideal for industrial settings.
- Plywood or MDF: Cost-effective options that provide good insulation and can be easily customized.
- Acrylic sheets: Lightweight and transparent, allowing you to monitor the engraving process without sacrificing protection.
- Glass panels: Provide a sleek, modern look while ensuring visibility during operations.
When selecting materials, always prioritize safety. Avoid using flammable materials and ensure that the enclosure is fire-resistant. Additionally, consider adding sound-dampening features if noise reduction is a priority.
Designing Your Enclosure
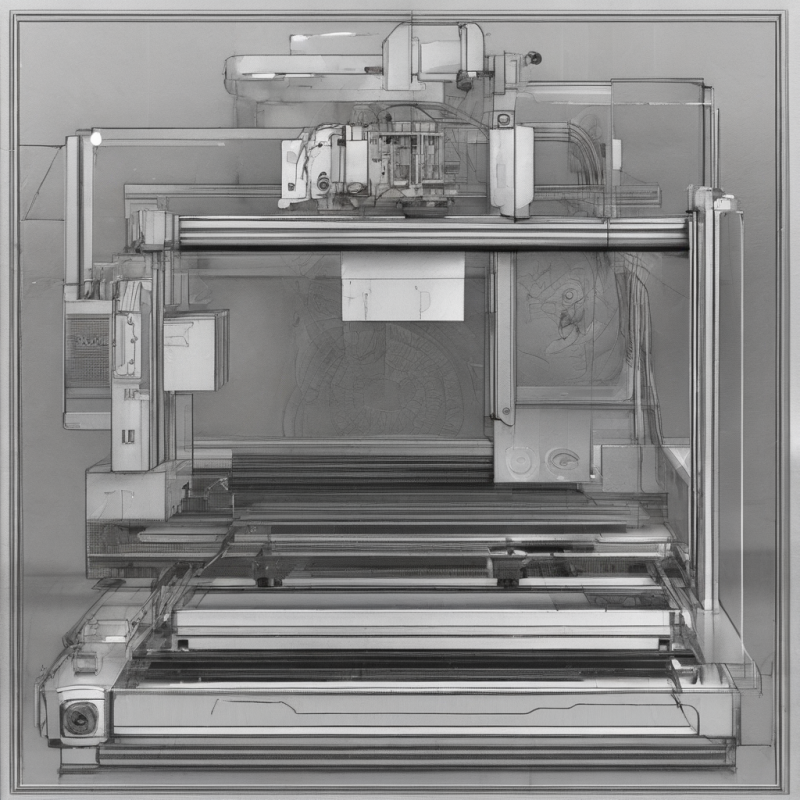
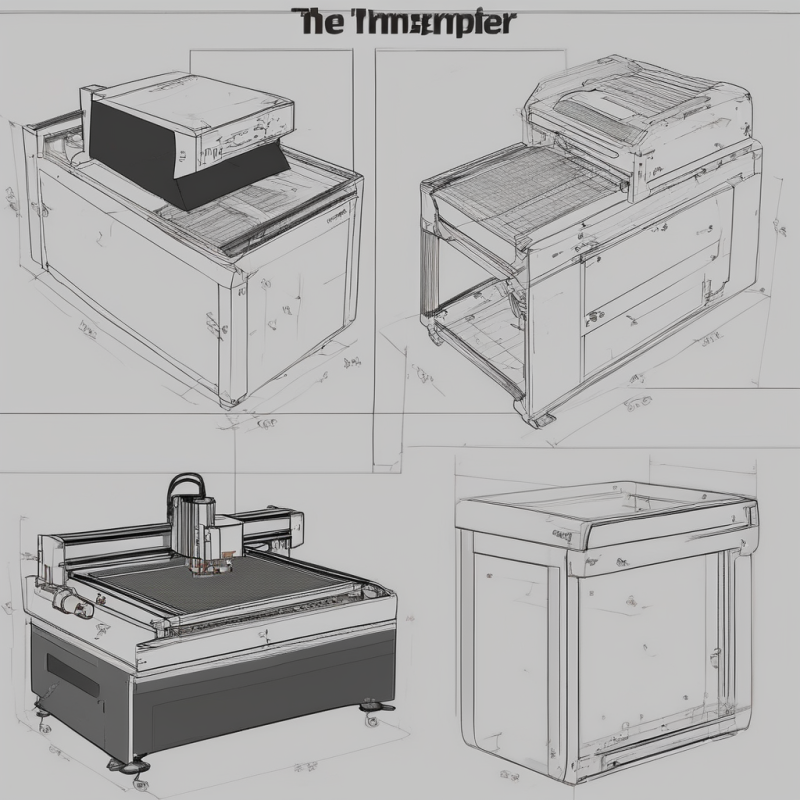
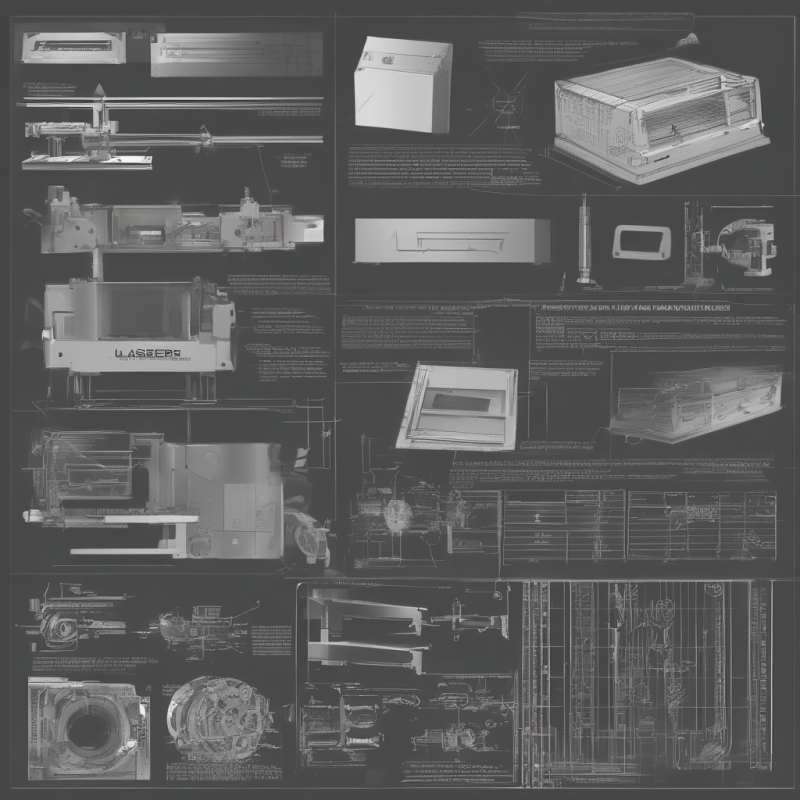
The design of your laser engraver enclosure should align with your specific needs and available space. Start by sketching out a layout that maximizes functionality while minimizing wasted space. Consider the following elements:
- Cabinetry: Use sturdy materials to build a solid frame for your enclosure.
- Doors and Windows: Opt for swing doors or sliding panels for easy access, and include windows for visibility.
- Ventilation System: Incorporate fans or exhaust systems to ensure proper airflow and fume extraction.
- Lighting: Install LED lights inside the enclosure to provide adequate illumination during engraving.
- Cable Management: Plan for cable routing to keep your workspace tidy and prevent tripping hazards.
If you’re unsure about where to start, there are plenty of online resources and tutorials available. For example, the guide offers valuable insights into designing and building a custom setup.
Step-by-Step Assembly Guide
Now that you’ve planned your design, it’s time to start assembling your DIY laser engraver enclosure. Follow these steps for a smooth and efficient build:
- Prepare Your Tools and Materials: Gather all necessary tools, such as saws, drills, screws, and adhesives. Ensure you have enough materials on hand to complete the project without delays.
- Build the Frame: Start by constructing the frame using your chosen materials. Cut the pieces to size and assemble them securely using bolts or screws.
- Install Doors and Windows: Attach doors and windows to the frame, ensuring they open smoothly and seal tightly when closed.
- Add Ventilation: Install fans or ducts to maintain proper airflow. Consider adding a filtration system if you’re working with materials that produce harmful fumes.
- Incorporate Lighting: Mount LED lights inside the enclosure to ensure visibility during engraving operations.
- Test the Setup: Before finalizing, test the enclosure by running your laser engraver through a few projects. Make adjustments as needed to optimize performance and safety.
Remember, patience is key when building your enclosure. Take your time to ensure each component is properly installed and aligned.
Maintenance and Upkeep
To keep your laser engraver enclosure in top condition, regular maintenance is essential. Here are some tips for keeping your setup running smoothly:
- Clean Regularly: Dust and debris can accumulate over time, so clean the interior and exterior of the enclosure regularly.
- Inspect Components: Check doors, windows, and ventilation systems for wear and tear. Replace any damaged parts promptly.
- Lubricate Moving Parts: Apply lubricant to hinges, tracks, and other moving components to ensure smooth operation.
- Update Filters: If your enclosure has a filtration system, replace the filters according to the manufacturer’s recommendations.
Final Thoughts
Building a DIY laser engraver enclosure is a rewarding project that can elevate your engraving game. By following these guidelines and taking safety into account, you’ll create a functional and efficient workspace that enhances both productivity and precision. Whether you’re working on small-scale projects or larger industrial applications, a well-designed enclosure is a must-have tool for any laser engraver enthusiast.
Need more inspiration? Check out the guide for additional tips and tricks to optimize your setup. Happy building!

