The Ultimate Guide to Engraving Acrylic with a Laser
Laser engraving has become an incredibly popular method for creating intricate designs on various materials, including acrylic. With its precision and versatility, laser engraving allows you to achieve professional-quality results without the need for traditional carving tools. If you’re interested in learning how to engrave acrylic with a laser, this guide will walk you through everything you need to know.
**Understanding Laser Engraving on Acrylic**
Before diving into the process, it’s essential to understand what laser engraving entails and why it’s ideal for acrylic. Laser engraving uses a focused beam of light to etch designs or text onto a material. Unlike traditional engraving methods, which can be time-consuming and labor-intensive, laser engraving offers speed, accuracy, and ease of use.
Acrylic, also known as plexiglass, is a popular choice for laser engraving because it’s lightweight, durable, and translucent. When engraved with a laser, acrylic can produce stunning effects such as frosted or mirrored finishes, depending on the settings used. Whether you’re creating custom signs, decorative pieces, or personalized gifts, laser-engraved acrylic is a fantastic option.
**What You Need to Get Started**
To begin engraving acrylic with a laser, you’ll need the right tools and materials. Here’s a list of essentials:
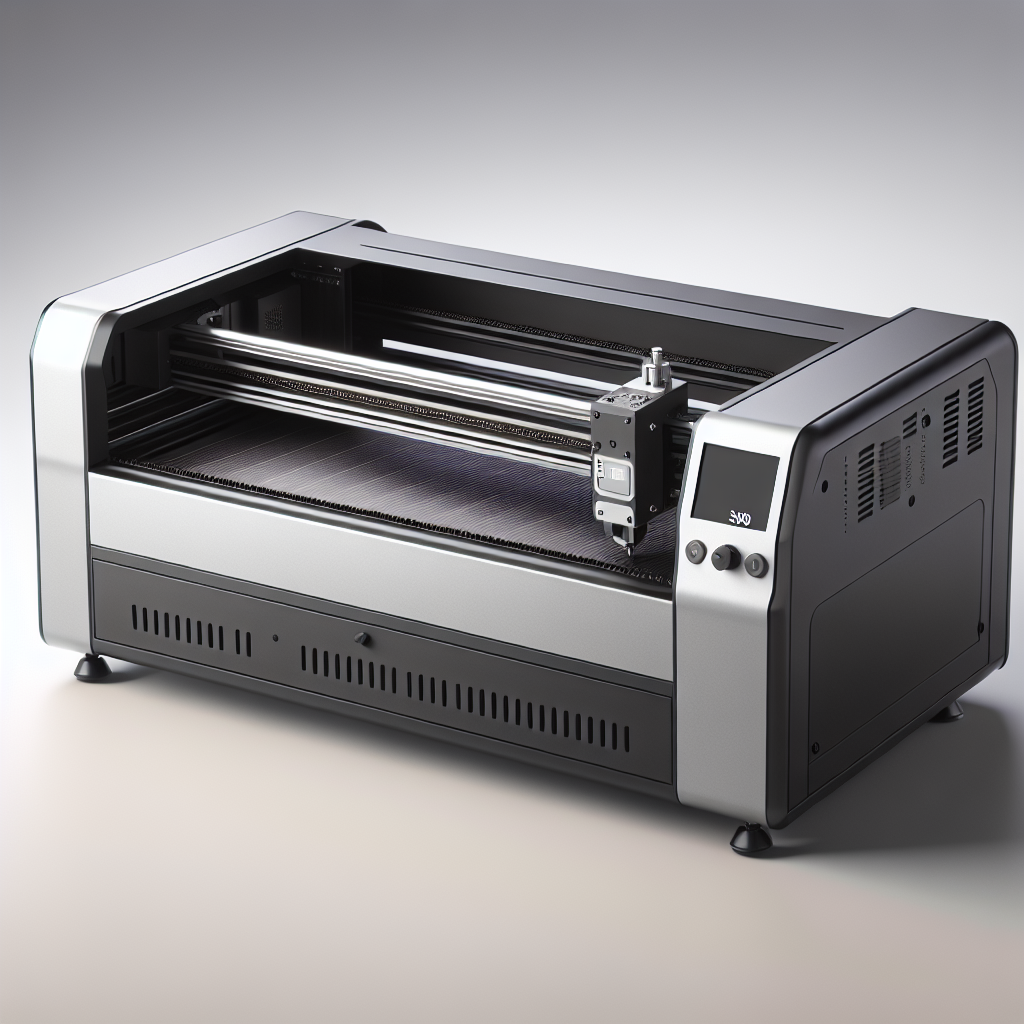
- A high-quality laser engraver machine.
- Acrylic sheets in your desired size and thickness.
- A computer with compatible software for designing and controlling the laser engraver.
- Safety goggles and gloves to protect yourself during the engraving process.
- Masking tape or clamps to secure the acrylic in place.
If you don’t already own a laser engraver, consider investing in one like the ****, which is specifically designed for precision and ease of use.
**Preparation Is Key**
Proper preparation is crucial for achieving the best results when engraving acrylic. Follow these steps to set yourself up for success:
- Clean the Acrylic: Ensure your acrylic sheet is free from dirt, grease, or dust. Any contaminants on the surface can interfere with the laser beam and produce uneven engravings.
- Design Your Pattern: Use design software like CorelDRAW, Adobe Illustrator, or even free tools like Inkscape to create your engraving pattern. Keep in mind that intricate designs may require higher power settings.
- Position the Acrylic: Secure the acrylic sheet on the laser machine’s worktable using masking tape or clamps. Ensure it’s flat and stable to prevent movement during engraving.
**Setting Up Your Laser Engraver**
Once your materials are ready, it’s time to set up your laser engraver. Here’s how:
- Load the Software: Open the software that came with your laser engraver or use third-party programs compatible with your machine.
- Calibrate the Machine: Follow the manufacturer’s instructions to calibrate your laser engraver, ensuring it’s aligned correctly for precise cuts and engravings.
- Adjust Settings: Depending on the thickness and type of acrylic you’re using, adjust the power, speed, and focus settings in the software. Start with lower settings and gradually increase as needed to avoid burning or melting the material.
**The Engraving Process**
Now that everything is set up, it’s time to start engraving! Here’s a step-by-step guide:
- Test Run: Before committing to your final design, perform a test run on a small piece of acrylic. This will help you fine-tune the settings and ensure everything works as expected.
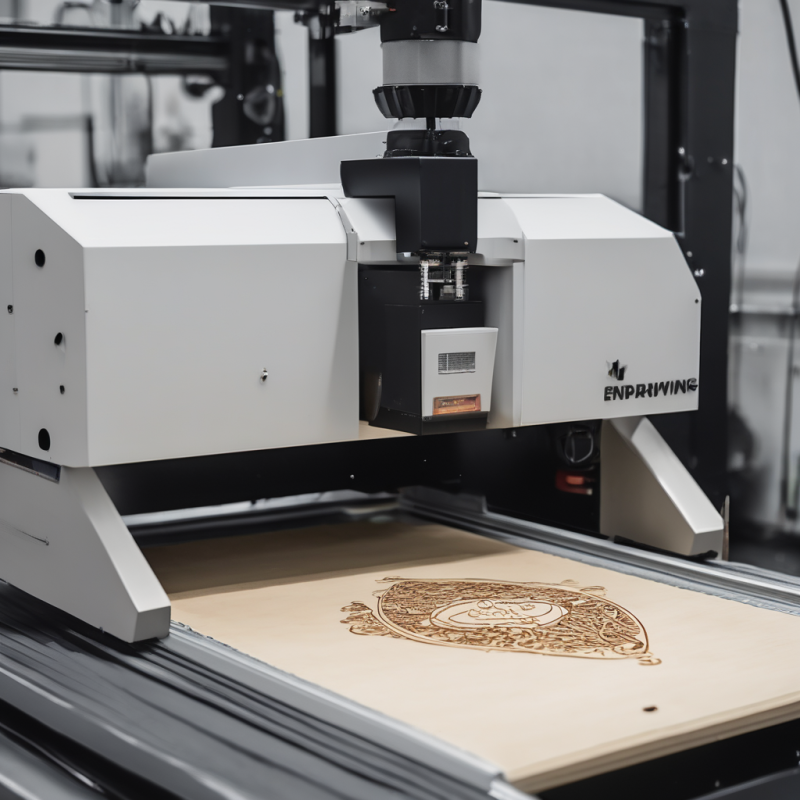
- Start Engraving: Once you’re satisfied with your test, load your design into the software and begin engraving. The laser will etch the acrylic, creating a frosted or polished finish depending on your settings.
- Monitor the Process: Keep an eye on the machine as it works. If you notice any issues, such as uneven cuts or burning, stop the process immediately and adjust your settings.
**Tips for Achieving Perfect Results**
- Use the Right Settings: Different types of acrylic may require different laser settings. Experiment with various power levels and speeds to find the perfect combination for your project.
- Keep It Clean: Regularly clean your laser machine’s lens to ensure optimal performance. Dust or debris on the lens can reduce the quality of your engravings.
- Practice Patience: Laser engraving is a precise process, so take your time and don’t rush. Rushing can lead to mistakes and lower-quality results.
**Common Mistakes to Avoid**
- Overpowering: Using too much power can burn or melt the acrylic, ruining your design. Always start with lower settings and increase as needed.
- Improper Alignment: Misaligned machines can lead to uneven cuts or designs that don’t align properly. Double-check your calibration before starting.
- Not Testing First: Skipping a test run can result in wasted materials and time. Always test on a small piece first to ensure your settings are correct.
**Applications of Laser-Engraved Acrylic**
Laser-engraved acrylic is incredibly versatile and can be used for a wide range of applications, including:
- Custom signage and displays.
- Decorative wall art and mirrors.
- Personalized gifts, such as engraved acrylic photo frames or name tags.
- Business cards, promotional items, and product packaging.
**Conclusion**
Laser engraving acrylic is a fun and rewarding process that allows you to create beautiful, professional-quality designs with ease. By following the steps outlined in this guide and using the right tools, such as the ****, you can achieve stunning results every time. So why wait? Start experimenting with laser engraving today and bring your creative visions to life!