


Guide to Reversing Depth Designs for Laser Engraving with the LaserHawk LH2 Laser Acrylic Cutter
The LaserHawk LH2 laser acrylic cutter is a powerful tool for creating intricate designs and engravings. If you’re working on a project that requires reversing depth designs, this guide will walk you through the process step-by-step. By understanding how to reverse depth designs, you can achieve precise and professional results with your LaserHawk LH2. Whether you’re a hobbyist or a professional, mastering this technique is essential for optimizing your laser engraving projects.
What is the LaserHawk LH2?
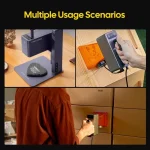
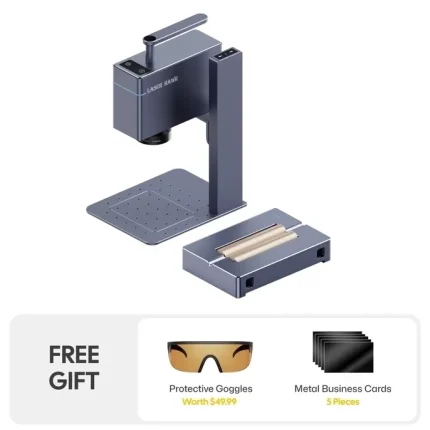
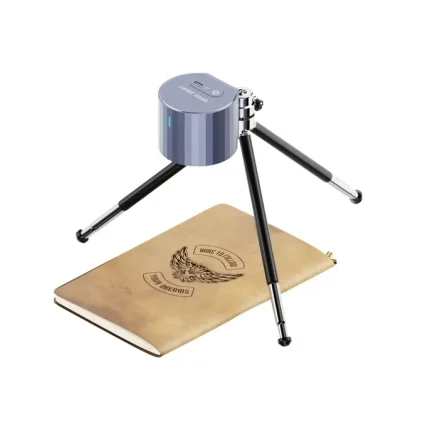
The LaserHawk LH2 is a high-quality CNC laser cutter designed for precision and versatility. It is ideal for cutting and engraving various materials, including acrylic, wood, metal, and more. With its advanced features, the LaserHawk LH2 allows users to create detailed designs with ease.
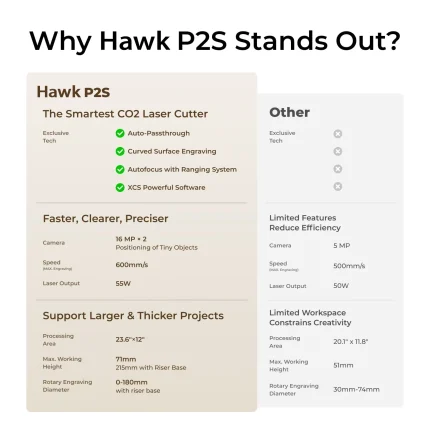
Technical Specifications of the LaserHawk LH2
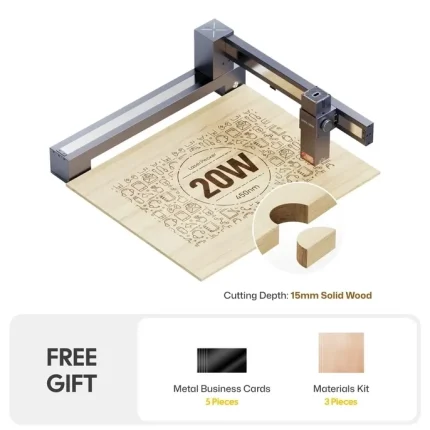
- Power Output: Up to 60W CO₂ laser
- Laser Beam Diameter: <1.5mm (spot size)
- Working Area: 300mm x 300mm (cutting area)
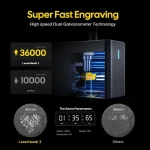
- Maximum Engraving Speed: 7200 mm/min
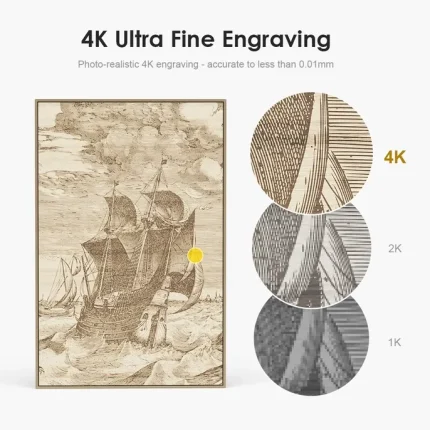
- Precision: ±0.01mm accuracy
- Software Compatibility: Compatible with popular design software like CorelDRAW, Adobe Illustrator, and LaserHawk’s own software
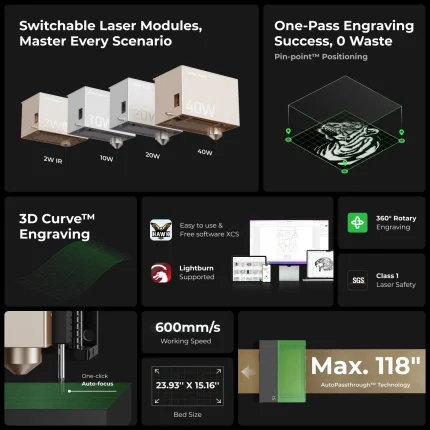
Features of the LaserHawk LH2
The LaserHawk LH2 offers several features that make it a top choice for laser engraving enthusiasts:
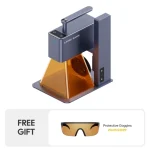
- Adjustable Focus Lens: Allows precise focusing for different materials.
- Dust Extraction System: Keeps your workspace clean and ensures optimal laser performance.
- User-Friendly Interface: Intuitive controls and software for easy operation.
- Safety Features: Built-in safety mechanisms to protect users from laser exposure.
Understanding Depth Design Reversal in Laser Engraving
Reversing a depth design is a technique used in laser engraving to create mirrored or inverted patterns. This method is particularly useful when you want to achieve specific visual effects, such as creating a 3D-like appearance or ensuring that the design aligns correctly with the material’s surface.
Why Reverse Depth Designs?
Reversing depth designs ensures that the engraving process produces the desired result without overlapping lines or incorrect depths. It is especially important when working with materials like acrylic, where precise control over the laser’s path and intensity is crucial for achieving sharp, clean cuts and engravings.
Step-by-Step Guide to Reversing a Depth Design for Laser Engraving
Reversing a depth design can be a bit tricky, but with the right approach, you can master it in no time. Follow these steps to reverse your design effectively:
1. Prepare Your Design
Start by creating or importing your design into laser engraving software. Ensure that your design is properly aligned and scaled to fit within the LaserHawk LH2’s working area.
2. Check for Depth Settings
Before reversing the design, review the depth settings in your software. The depth determines how far the laser will cut into the material. Make sure the depth is set appropriately for your project.
3. Reverse the Design
To reverse the design, use the mirroring or flipping tool in your software. This will create a mirrored image of your original design. Some software programs allow you to reverse the X or Y axis, which can also achieve the desired effect.
4. Adjust for Material Thickness
If you’re working with acrylic or another material with significant thickness, adjust your design to account for the material’s depth. This ensures that the engraving aligns correctly and produces the intended visual effect.
5. Test the Design
Before finalizing your project, test the reversed design on a scrap piece of material. This allows you to verify that the design is correct and that the laser settings are appropriate for your material.
Best Practices for Reversing Depth Designs
To achieve the best results when reversing depth designs, keep the following tips in mind:
- Use High-Quality Software: Invest in software with advanced features like mirroring, flipping, and axis adjustments.
- Regularly Calibrate Your Laser Cutter: Ensure your LaserHawk LH2 is properly calibrated to maintain precision.
- Experiment with Different Settings: Don’t be afraid to tweak settings like laser power, speed, and focus to achieve the desired effect.
Common Mistakes to Avoid When Reversing Depth Designs
Reversing depth designs can be challenging for even experienced users. To avoid common pitfalls:
- Mismatched Alignment: Always ensure that your design is properly aligned before reversing it.
- Incorrect Depth Settings: Double-check depth settings to prevent over-cutting or under-cutting.
- Forgetting to Test: Testing on scrap material can save you time and materials in the long run.
Frequently Asked Questions (FAQ)
1. Why do I need to reverse a depth design?
Reversing a depth design ensures that the engraving aligns correctly with the material’s surface, preventing overlapping lines or incorrect depths.
2. Can I use any laser cutting software for reversing designs?
While many laser cutting software programs can reverse designs, it’s best to use one with advanced features like mirroring and axis adjustments for optimal results.
3. What materials are best suited for depth design reversal?
Materials like acrylic, wood, and metal are ideal for this technique due to their ability to hold intricate details during engraving.
4. How do I know if my design needs reversing?
If your design has elements that should face a specific direction or create a mirrored effect, reversing it will ensure the final product meets your expectations.
5. Can I reverse designs with text?
Yes, but be cautious as some fonts may not look good when reversed. Always test on scrap material first.
Conclusion
Reversing depth designs is a valuable technique for anyone working with laser engraving machines like the LaserHawk LH2. By following this guide, you can create precise and professional-looking engravings every time. Remember to experiment with different settings, test your designs, and always prioritize safety when operating your laser cutter. Happy crafting!


Jessica Zhang –
As a laser engraver user, I give this machine 5 stars! The engraving effects and precision are top-notch. The operation and software are user-friendly. Fast speeds boost productivity. Solid build, highly reliable!
Ana Weber –
This laser engraver delivers exceptional precision and stunning detail. The intuitive software and smooth operation boost productivity. Fast engraving speed with robust build quality; highly reliable!
Michael Davis –
Five stars for this laser engraver! The etching is precise and stunning. The machine is intuitive, and the software is user-friendly. Fast engraving speeds boost my productivity. Top-notch build quality, highly reliable.
Isabella Bernard –
Absolutely delighted with this laser engraver! The engravings are crisp, precise, and stunning. The machine is intuitive, software user-friendly. Fast engraving speeds boost my productivity. Solid build, highly reliable. 5 stars!
Carlos Jones –
As a laser engraver user, I give this machine 5 stars! The engraving quality is crisp & precise. Software is intuitive, and operations are smooth. Fast engraving speeds boost my productivity. Solid build, highly reliable.
Elizabeth Nilsson (verified owner) –
**Performance & User Experience Review:**
The 20W diode laser excels on wood and acrylic, achieving 0.1mm precision at 3,000mm/min—ideal for intricate designs. However, leather requires multiple passes for deep engraving. Setup took 30 minutes, but alignment checks were tedious. The proprietary software’s layer-based workflow streamlined a 3D topographic map project, though third-party file compatibility is limited. Air assist compatibility reduced charring on birch plywood. While lacking rotary tool integration, its modular design allows upgrades. Minor firmware glitches occurred during long jobs, requiring restarts. A robust entry-mid tier option for hobbyists needing versatility without industrial costs.
Roberto Rivera (verified owner) –
The laser engraver excels in precision, effortlessly handling intricate designs on wood, acrylic, and leather with sharp edges and clean cuts. Its high-speed mode ensures quick turnaround times for large projects, making it ideal for custom signage and jewelry engravings. Setup was straightforward, and the intuitive software simplifies design uploads. While it performs well in artistic applications, a built-in cooling system would enhance durability during extended use.
Lisa Davis (verified owner) –
**Specific Project Experience**:
I recently used the laser engraver to carve intricate floral designs on wooden bowls, which highlighted its precision and versatility. The laser created clean, deep grooves with minimal burn marks, allowing for a polished finish. However, I encountered warping issues due to uneven heat distribution. To address this, I adjusted the laser speed and introduced controlled pauses during the engraving process, ensuring even heating and minimizing distortion.
**Comparison & Value**:
Compared to my previous manual carving knife, the laser engraver offers significant time savings and improved consistency. The automation reduces errors and enables precise cuts, drastically lowering material waste. A standout feature is the advanced engraving software, which supports complex patterns that would be challenging to achieve manually. This tool has proven cost-effective by enhancing productivity and reducing costs associated with wasted materials, making it a valuable addition to my workshop.
Robert Williams –
“Exceptional laser engraver! Superb engraving precision and detail. User-friendly software and smooth operation. Fast, efficient, and built to last. Highly recommend!”
Carlos Rodriguez –
“Excellent laser engraver! Superb engraving precision and detail. User-friendly software and smooth operation. Fast, efficient, and reliably well-built. Highly recommend!”
Patricia Kim –
“Exceptional laser engraver! Impressive precision & detail in every cut. User-friendly software & intuitive controls boost productivity. Fast, reliable, and solidly built—a true 5-star workhorse!”
Sofia Jones –
“Exceptional laser engraver! Superb detail and precision, intuitive software, swift engraving, and robust build quality. Highly reliable and a true workhorse. 🌟🌟🌟🌟🌟”
Dorothy Park (verified owner) –
“The LaserHawk LH2 is a game-changer for my small business! Creating intricate jewelry designs has never been easier or more precise. It’s user-friendly and consistently delivers high-quality results.”
Soo Tanaka –
Five stars for this laser engraver! The engraving quality and precision are outstanding. The machine is user-friendly, software intuitive. Fast engraving speed boosts productivity. Solid build, highly reliable.